The Divi “Next Before After” image slider module allows you to showcase the before and after versions of an image. Very simply you can do showcase sliding over those images. Your website visitors or customers can easily compate two images when they will move the slider.
Content Tab
Content → Image
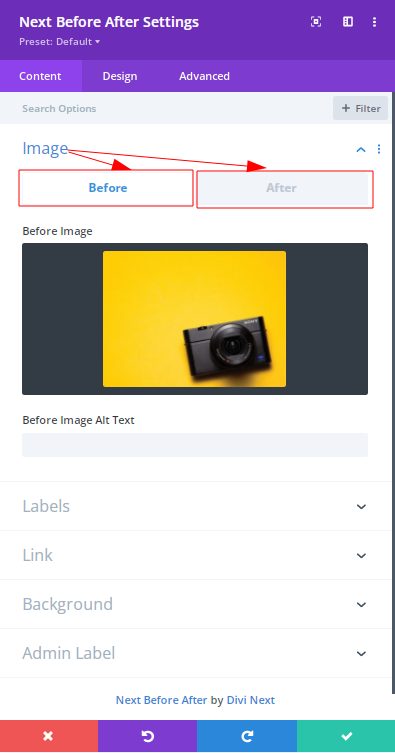
Before/After:
First add image in the “Before Image” part and you can add Alt Text as well.
Second add image in the “After Image” part as well as you can add Alt text as well.
So when you are adding the first image in the first part that is “Before Image” and the second one
will be available in the “After image”. During adding the images you will be able to see the options.
Content → Labels
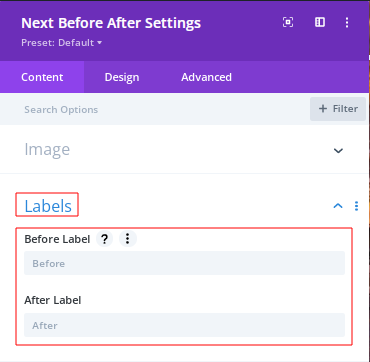
Content → Labels
Before Label : From here you can provide a custom Label text for the Before label.
After Label : From here you can provide a custom Label text for the After label.
Design Tab
Design → Slider
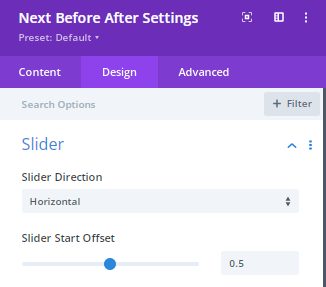
Slider Direction : Select the direction of Slider here
Slider Start Offset : Choose this option so that you can use the inital offsent of the slider in percent. From here you can easily control the position of the handle.
For example, If you set the offset to 0 the handle will be on the very left, and if it’s 0.8 the handle will be in the right side as well as in the center the handle will be if you set 0.5.
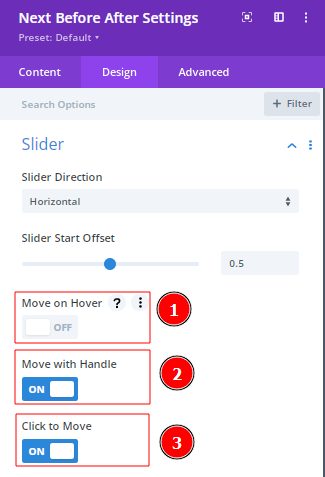
Move on Hover : Enable this option so that when you will hover on the images it will automatically move and it will follow the mouse moves.
Move on Handle : Enable this option & you will be able to move this images using this handle. Users can swipe the images comfortably.
Click to Move : Select this option and then enable it. After that you are able to move images by clicking on images.
Slider Color/Handle Color/Handle BG Color/Handle Icon Color :
Use these options to give color in each part to make everything magnificent. These options help you to convert your images into different colors.
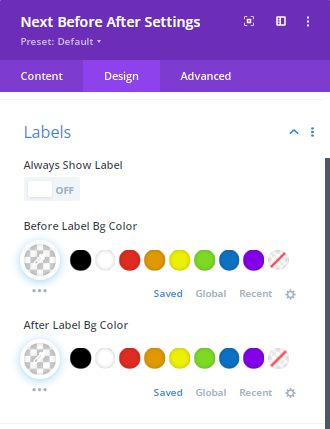
Design → Labels
Enable this option, so that you can show labels always. Add colors from the Before Label Bg color and After label Bg color.
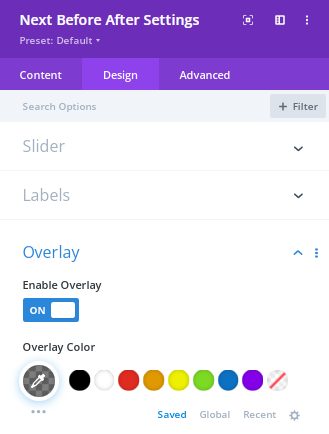
Design → Overlay
By enabling the overlay, easily you can hover on images and it will show a magnificent effect. More over in this option you can add overlay colors.
Important Note:
Always use same size images in the “Before” and “After” part.
