A more minimal way of showcasing team members and their occupation, with images portraying their professional personality. This is where you can add links to the member’s social media as well. This is good for engaging with clients as they review and get to know the company and the team members.
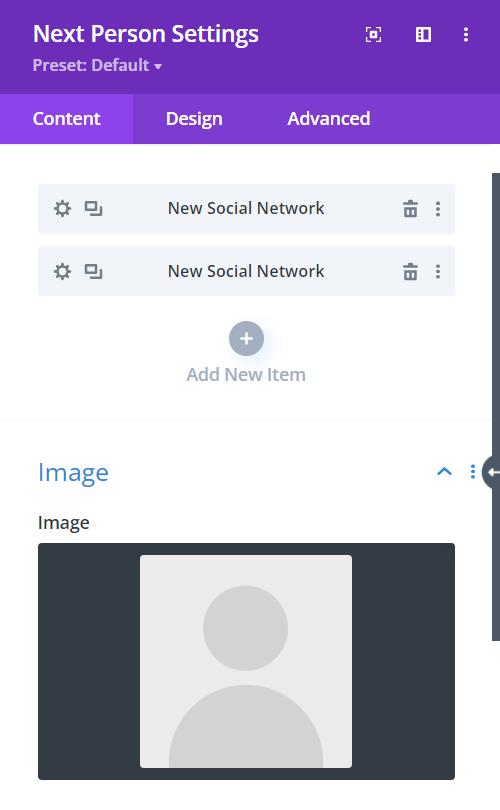
Content → New Item → Image
Within the Content Tab, you have the option to add New Items and include the Next Person image as shown above.
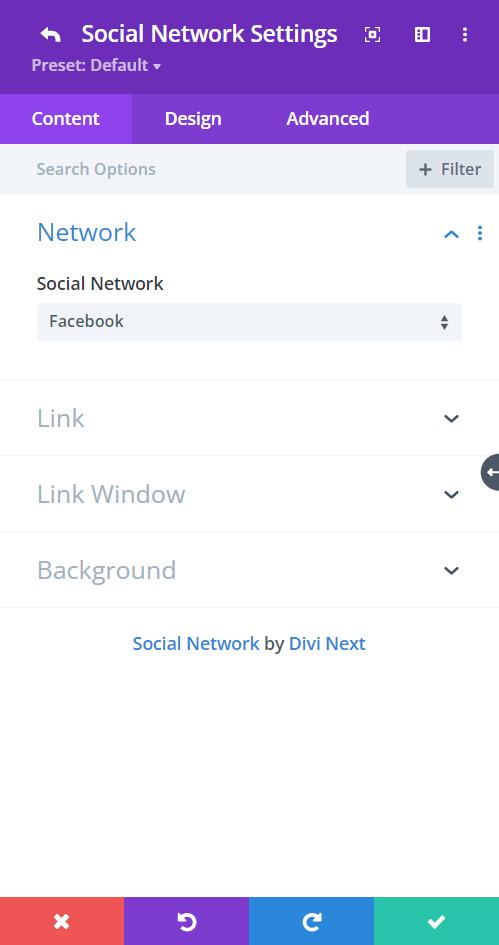
Content → New Item
Within the New Item, you can link social media links to the person in concern.
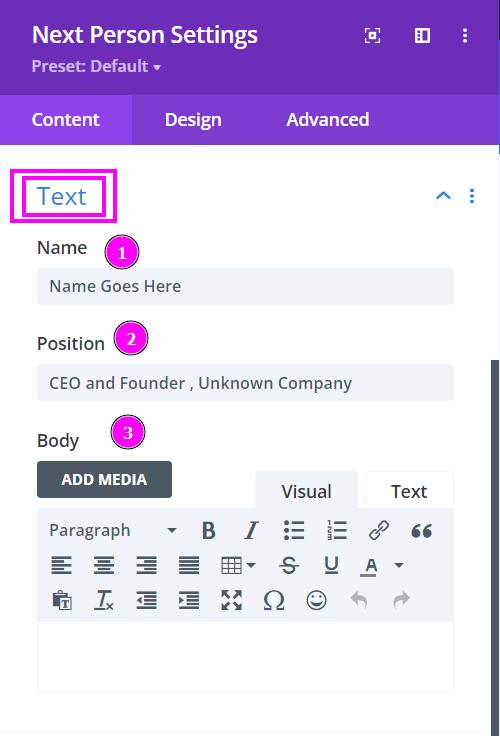
Content → Text
Let’s move on to the Text field and its features:
- Name – place the name of the person
- Position – include the company position of the person
- Body – include description text related to the person in concern
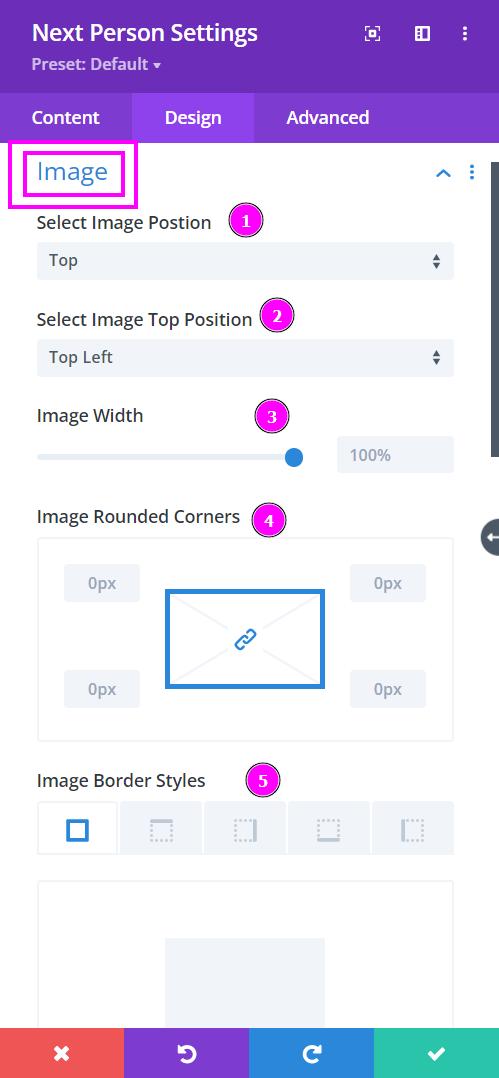
Design → Image
- Select Image Position – select between the top and left position
- Select Image Top/Left Position – based on your selected Image Position, pick between left, center, and right
- Image Width – adjust the width of the image using the slider
- Image Round Corners – alter the rounded corners for all four sides
- Image Border Styles – include border to the image either on all four sides or wherever you prefer
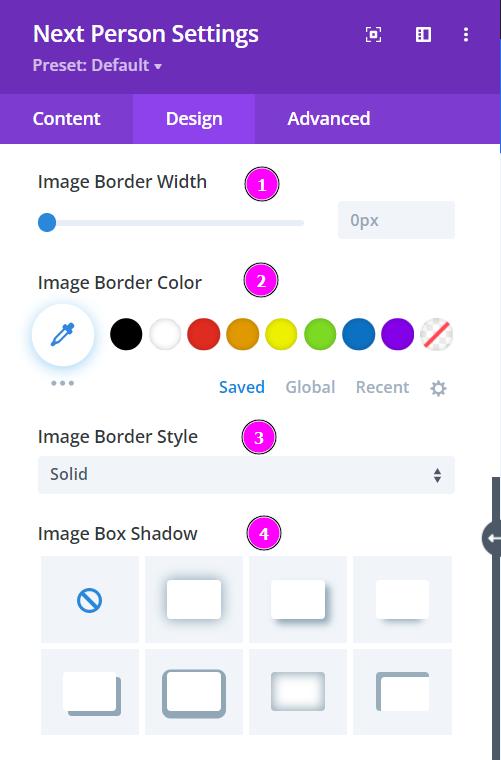
Design → Image (continuation)
- Image Border Width – adjust the width of the border added to the image
- Image Border Color – pick a color for the border using the pointer or you can copy/paste the hex code to get the exact color required for the border
- Image Border Style – select a premade style of border
- Image Box Shadow – include a box shadow for the image from the options below
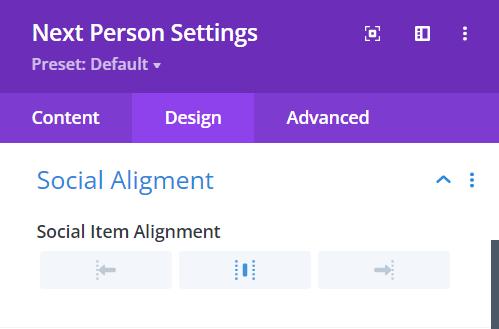
Design → Social Alignment
Social Item Alignment – you can position the social network items either to the left, center, or right.
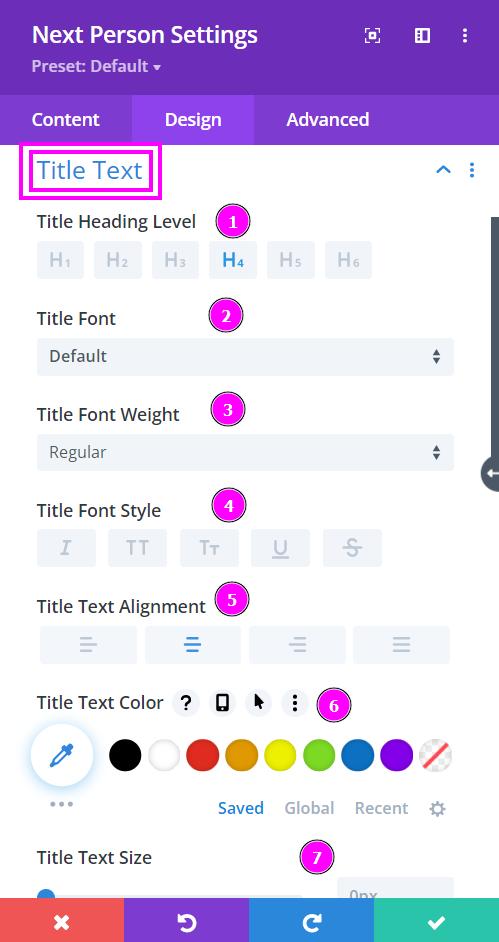
Design → Title Text
- Title Heading Level – Pick a level
- Font – Select a font from the collection or use a custom font
- Font Weight – this is where you define how you want your font to show either regular, italic, bold extra, or even extra light.
- Font Style – Pick a style of font for both front and back
- Text Alignment – align the text for both the front and back text
- Text Color – manually select a color for the background of the text using the pointer or you can simply state the hex code and get the exact color you require.
- Text Size – easily resize the text for both the front and back parts of the flip box
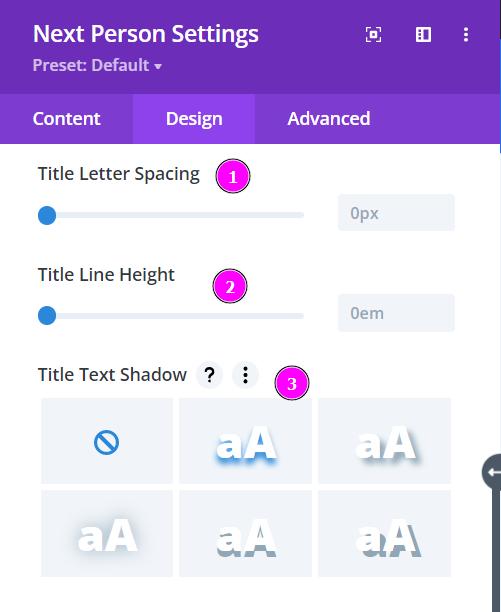
Design → Title Text (continuation)
- Letter Spacing – space out the letters using the slider for an easier read for the website visitors
- Line Height – easily include gaps between the lines using the slider
- Text Shadow – add text shadow to have the texts highlighted
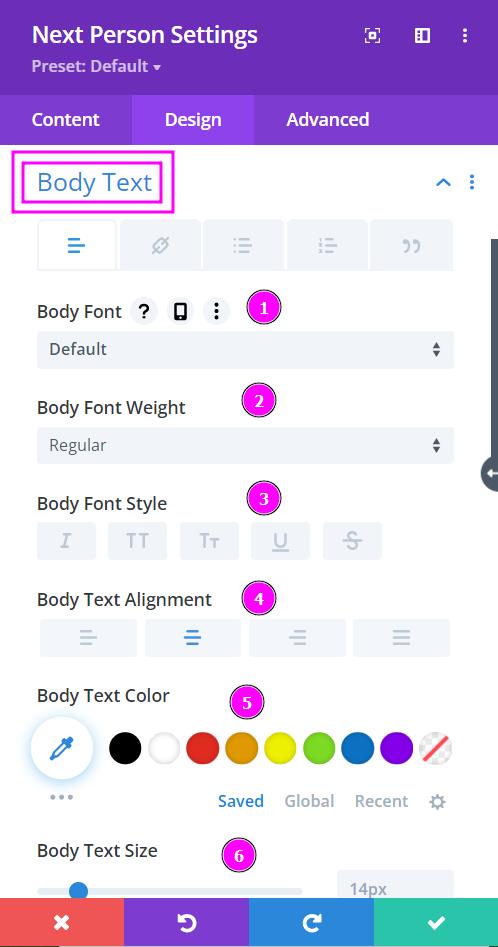
Design → Body Text
- Font – Select a font from the collection or use a custom font
- Font Weight – this is where you define how you want your font to show either regular, italic, bold extra, or even extra light
- Font Style – Pick a style of font for both front and back
- Text Alignment – align the text for both the front and back text
- Text Color – manually select a color for the background of the text using the pointer or you can simply state the hex code and get the exact color you require.
- Text Size – easily resize the text for both the front and back parts of the flip box
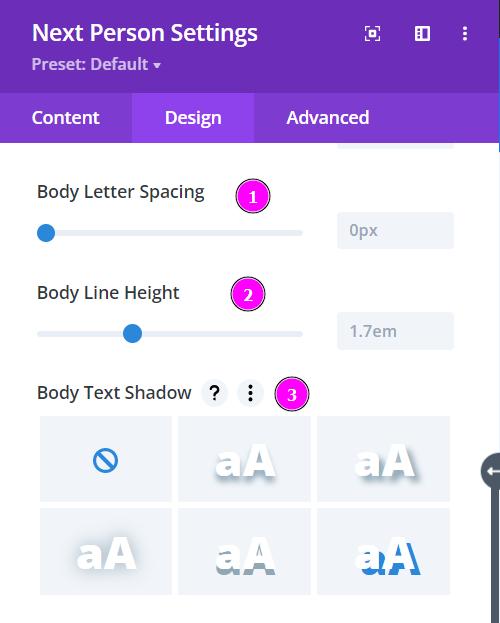
Design → Body Text (continuation)
- Letter Spacing – space out the letters using the slider for an easier read for the website visitors
- Line Height – easily include gaps between the lines using the slider
- Text Shadow – add text shadow to have the texts highlighted
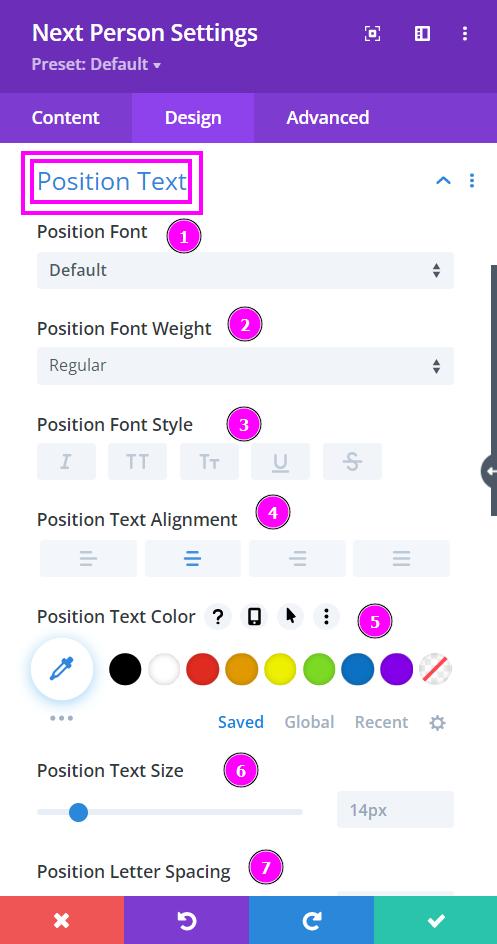
Design → Position Text
- Font – Select a font from the collection or use a custom font
- Font Weight – this is where you define how you want your font to show either regular, italic, bold extra, or even extra light
- Font Style – Pick a style of font for both front and back
- Text Alignment – align the text for both the front and back text
- Text Color – manually select a color for the background of the text using the pointer or you can simply state the hex code and get the exact color you require.
- Text Size – easily resize the text for both the front and back parts of the flip box
- Letter Spacing – space out the letters using the slider for an easier read for the website visitors
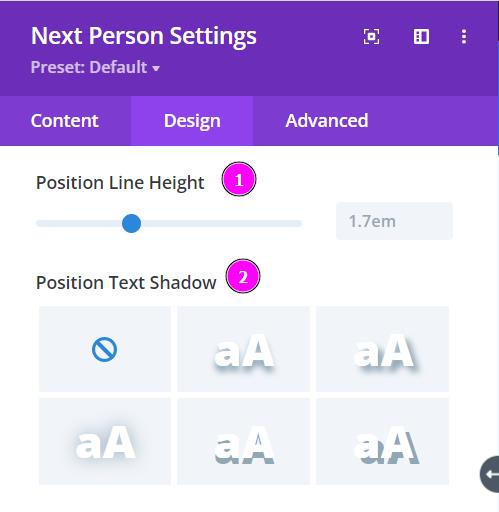
Design → Position Text (continuation)
- Line Height – easily include gaps between the lines using the slider
- Text Shadow – add text shadow to have the texts highlighted
