Choose the best one you like from the 24 distinctively attractive hover effects for your images.
Content
Content → Text Option
Click on this option and you will get the amazing option that I am describing below.
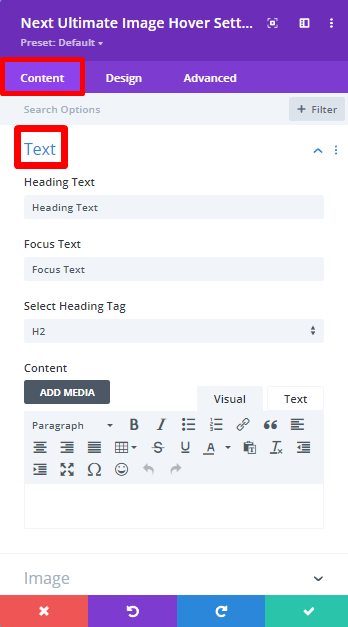
Heading Text :
To set the superb Heading text use this option.
Focust Text :
Write here the important texts that you want to focus on your website to your visitors.
Selecting Heading Tag :
You may need to select heading tags such as H1, H2, H3, etc. Select this option and select your heading tag.
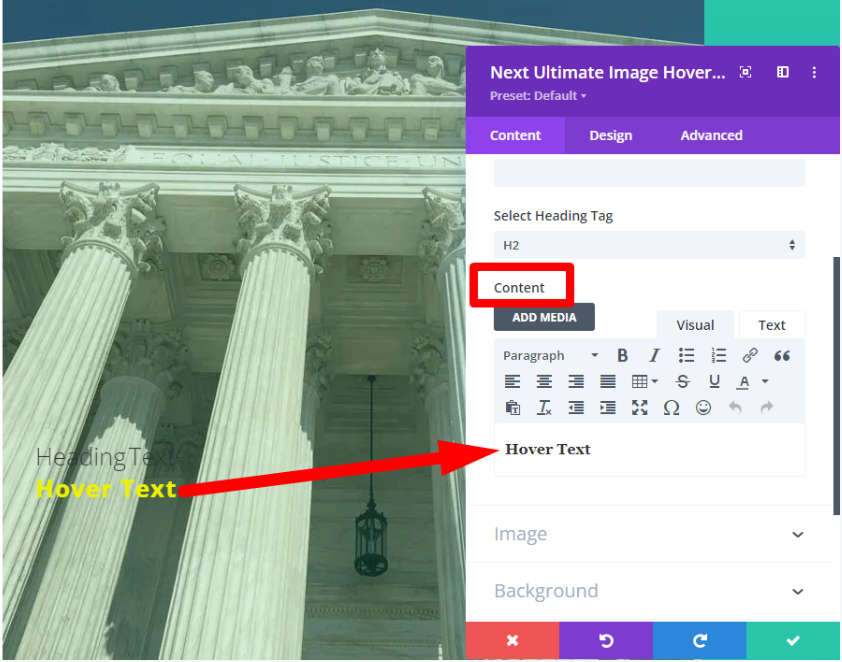
Content :
You may want to add paragraphs with different styles and lists as well as you may want to add web links. This option will provide you with many opportunities surely.
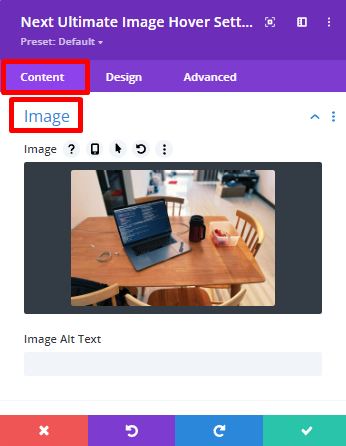
Content → Image
In this module main part is the image and using this option you are able to select your image easily.
Design Tab
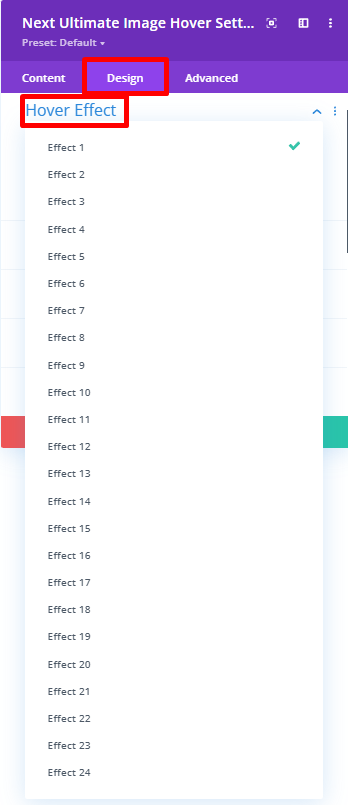
Design → Hover Effect → Select Image Hover
This is an awesome option where from you can select 24 superb hover effects. Visitors will be happy when they will see different hover effects on images during visiting your website.
Design → Fonts → Heading Text/Focus Text
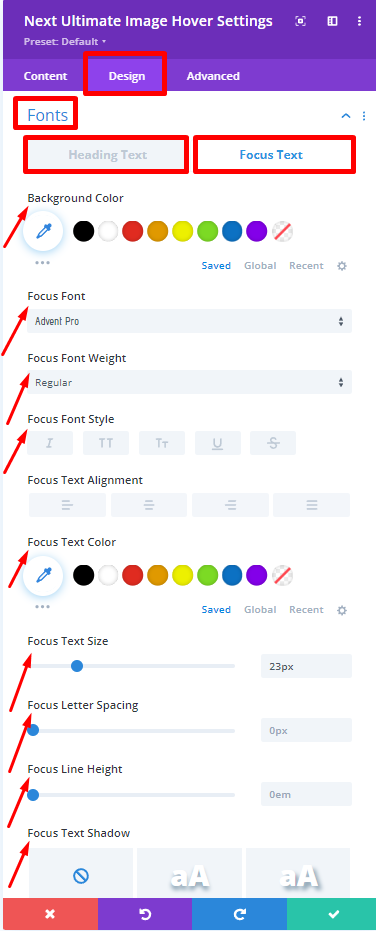
1. Here you can change the background color of the Texts and also you can make texts transparent
2. In this option, lots of fonts are available so that you can design texts.
3. Using the Focus Font and Font style easily changes text style.
4. Select the Focus Text alignment option to keep texts in the center or on the right/left side.
Design → Focus Text Color
Use this option to change the focus text color.
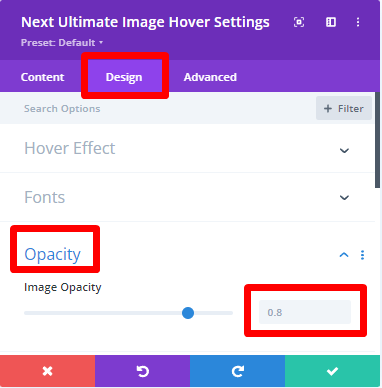
Design → Opacity
Transparency plays a very essential role on a webpage. It lets you select how transparent the images on your web pages appear. You can adjust transparency through the opacity option.
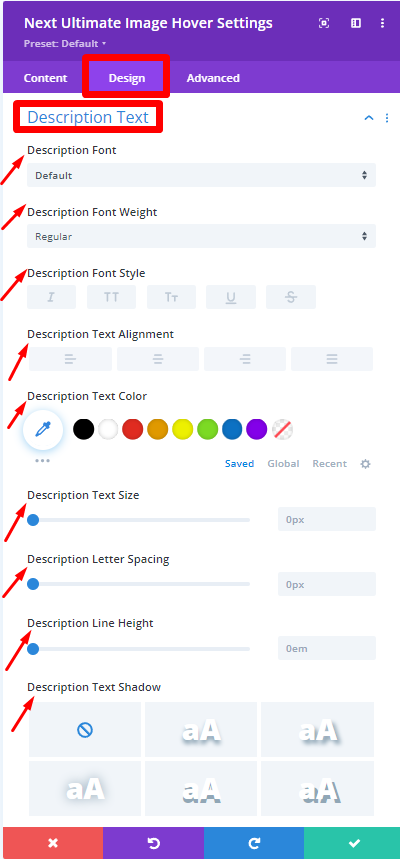
Design → Description Text
Using this option you are allowed to select font, font weight, font style, text alignment, text color, text size, letter spacing, line height, text-shadow of the description
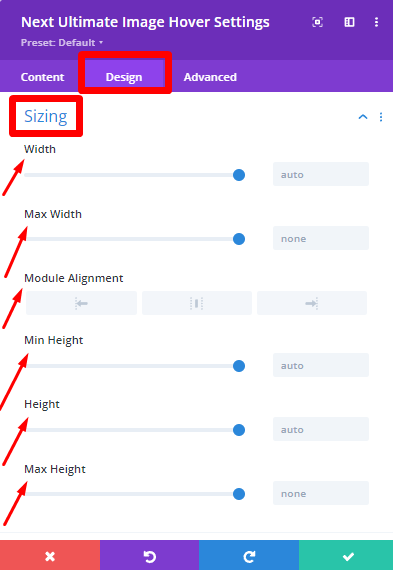
Design → Sizing
Select this option to change the Module’s width, max-width, alignment, height, and max height.
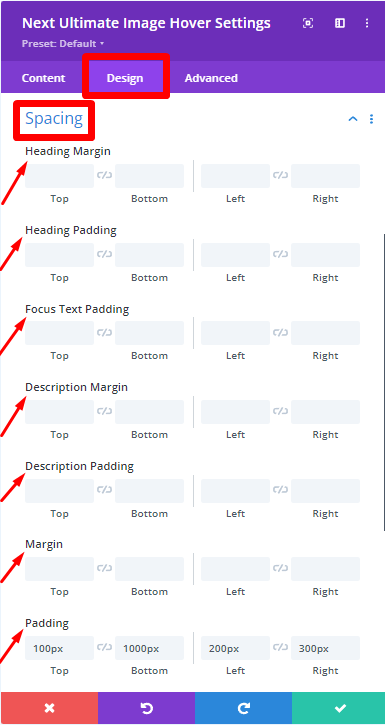
Design → Spacing
While designing the contents you can select this option to adjust the heading margin and padding. Also, you can change the focus text padding, description margin, padding also module’s margin, and module’s padding.
How to show a text after Hovering on an image?
If you want to show the text after hovering then kindly use texts in the Content area.
How to show Different image after Hovering?
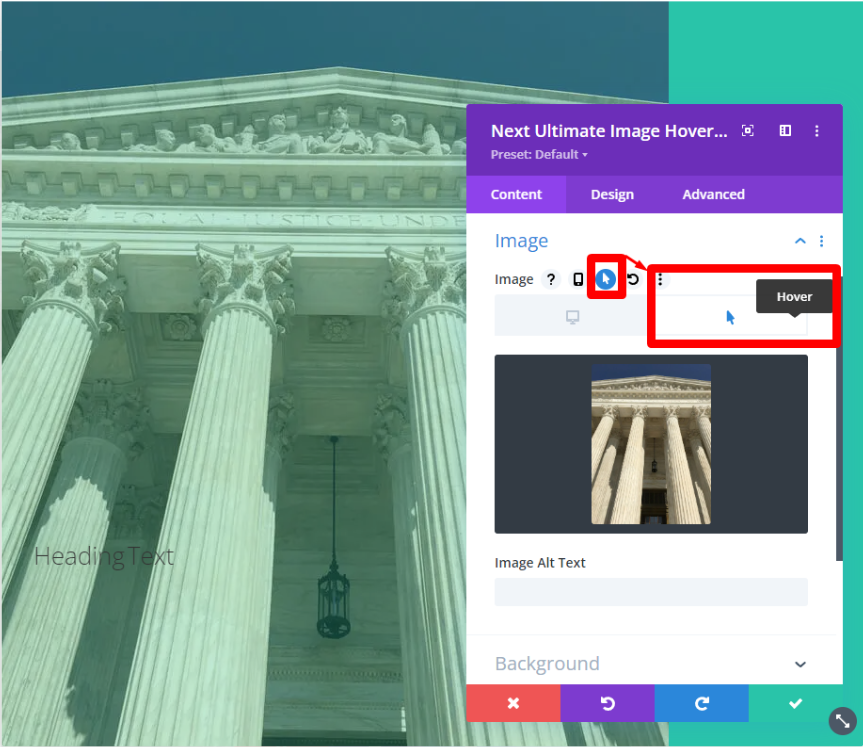
If you want to show the image after hovering then you can do it by following the below process:
In the Content tab find the Image option> Now Click on the hover option > You can get the Hover option > You can add there another image so that your visitors or customers can view the image after hovering.
