
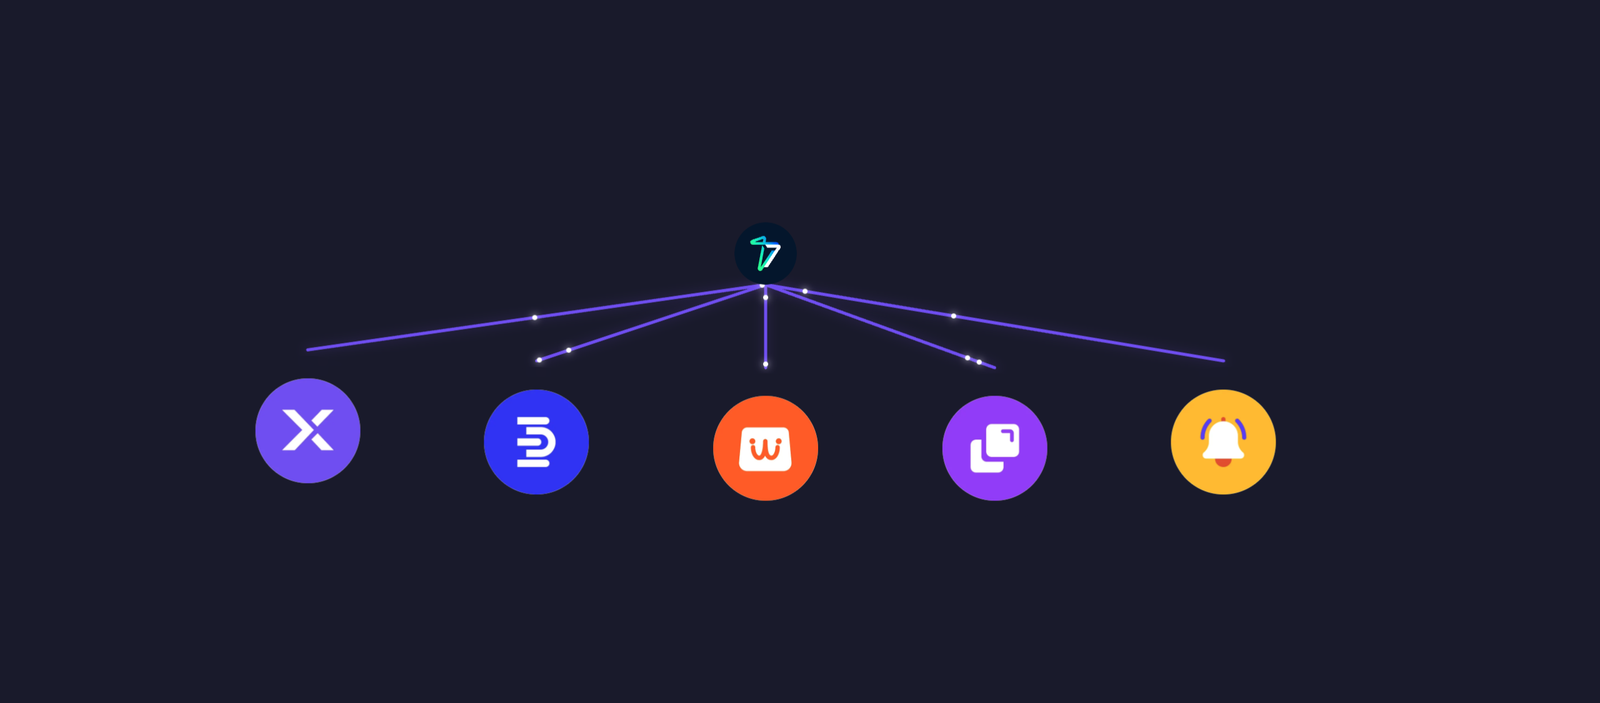
This module can be configured in just a few steps. Start by adding the module to your page, then upload your main logo and create connected node items around it. Each node can contain its own image, label, link, size, and custom position settings.
Quick Setup Steps
- Add the Logo Tree module to your page.
- Upload the Main Logo image.
- Add multiple Tree Items for connected nodes.
- Upload node images or icons.
- Add labels and optional links for each node.
- Customize node size and positioning.
- Adjust colors, connector styles, particles, and animations from the Design tab.
- Fine-tune responsive spacing and sizing if needed.
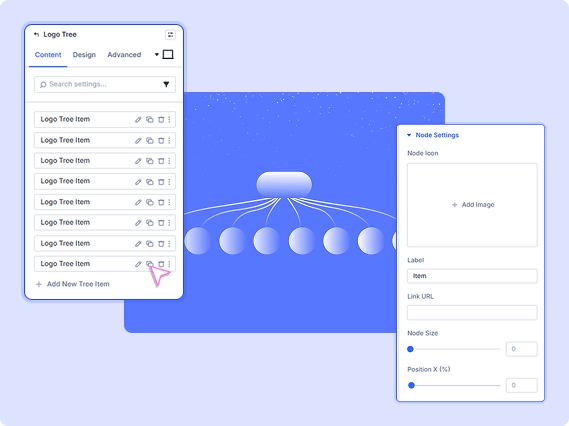
Add, remove, reorder, or duplicate individual tree node items. Click "Add New Tree Item" to create a new node. Each item has its own settings for image, label, size, and position (see Child Item Settings below).
Each Logo Tree Item represents a single node within the tree structure. From here, you can configure the node image, tooltip label, link URL, size, and custom positioning options for each individual item.
Content -> Main Logo
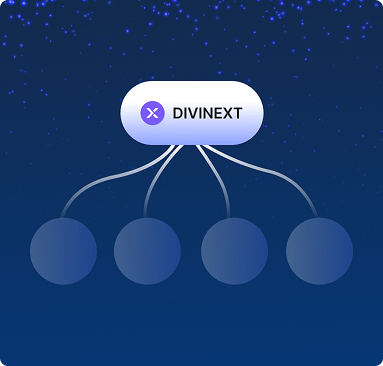
- Logo Image
Upload the main logo image that appears at the center-top of the tree.
- Logo Text
Text displayed below the main logo.
Content -> Tree Settings
The Background Effect option allows you to choose a background animation effect for the tree area. Available options include Floating Particles, Twinkling Stars, Grid Mesh, Aurora Waves, and Simple Gradient. The default effect is Floating Particles.
The Line Style option controls how the connection lines appear between the main logo and the nodes. You can choose from Bezier Curves, Wave Pattern, or Straight Lines. By default, the module uses Bezier Curves.
The Particle Count option lets you control the number of particles or stars displayed in the background animation. You can set the value anywhere between 10 and 200, with the default value set to 80.
Background
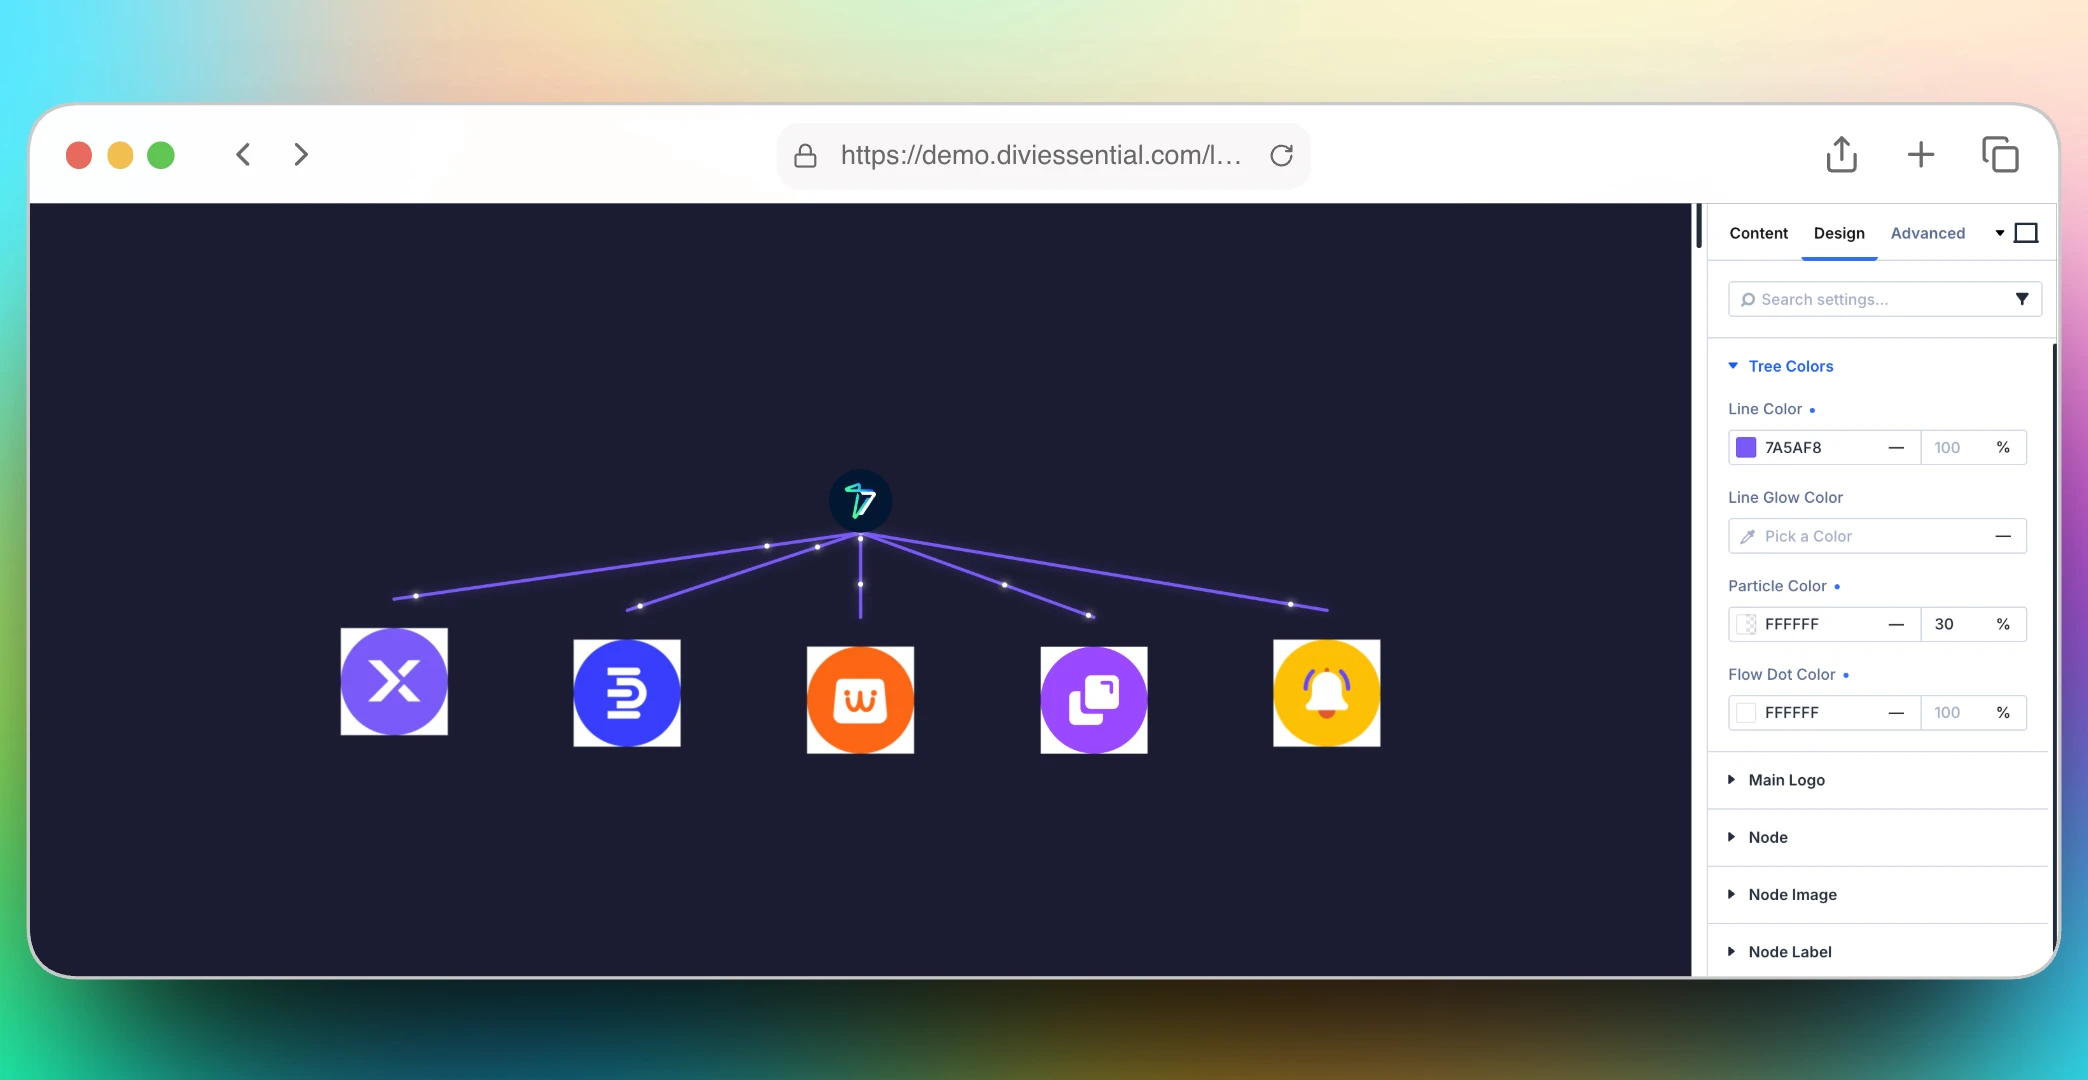
The Tree Colors settings allow you to customize the appearance of the connector lines, glow effects, particles, and animated flow dots used throughout the tree layout.
The Line Color option controls the color of the connecting lines between the main logo and the nodes. By default, the module uses a semi-transparent purple color with the value rgba(139, 92, 246, 0.6).
The Line Glow Color option controls the glow effect displayed around the connecting lines. By default, it uses a low-opacity purple color with the value rgba(139, 92, 246, 0.3).
The Particle Color option changes the color of the background particles or stars displayed in the tree area. The default value is rgba(139, 92, 246, 0.4).
The Flow Dot Color option controls the color of the animated dots flowing along the connector lines. By default, it uses the light purple color #a78bfa.
Design -> Main Logo
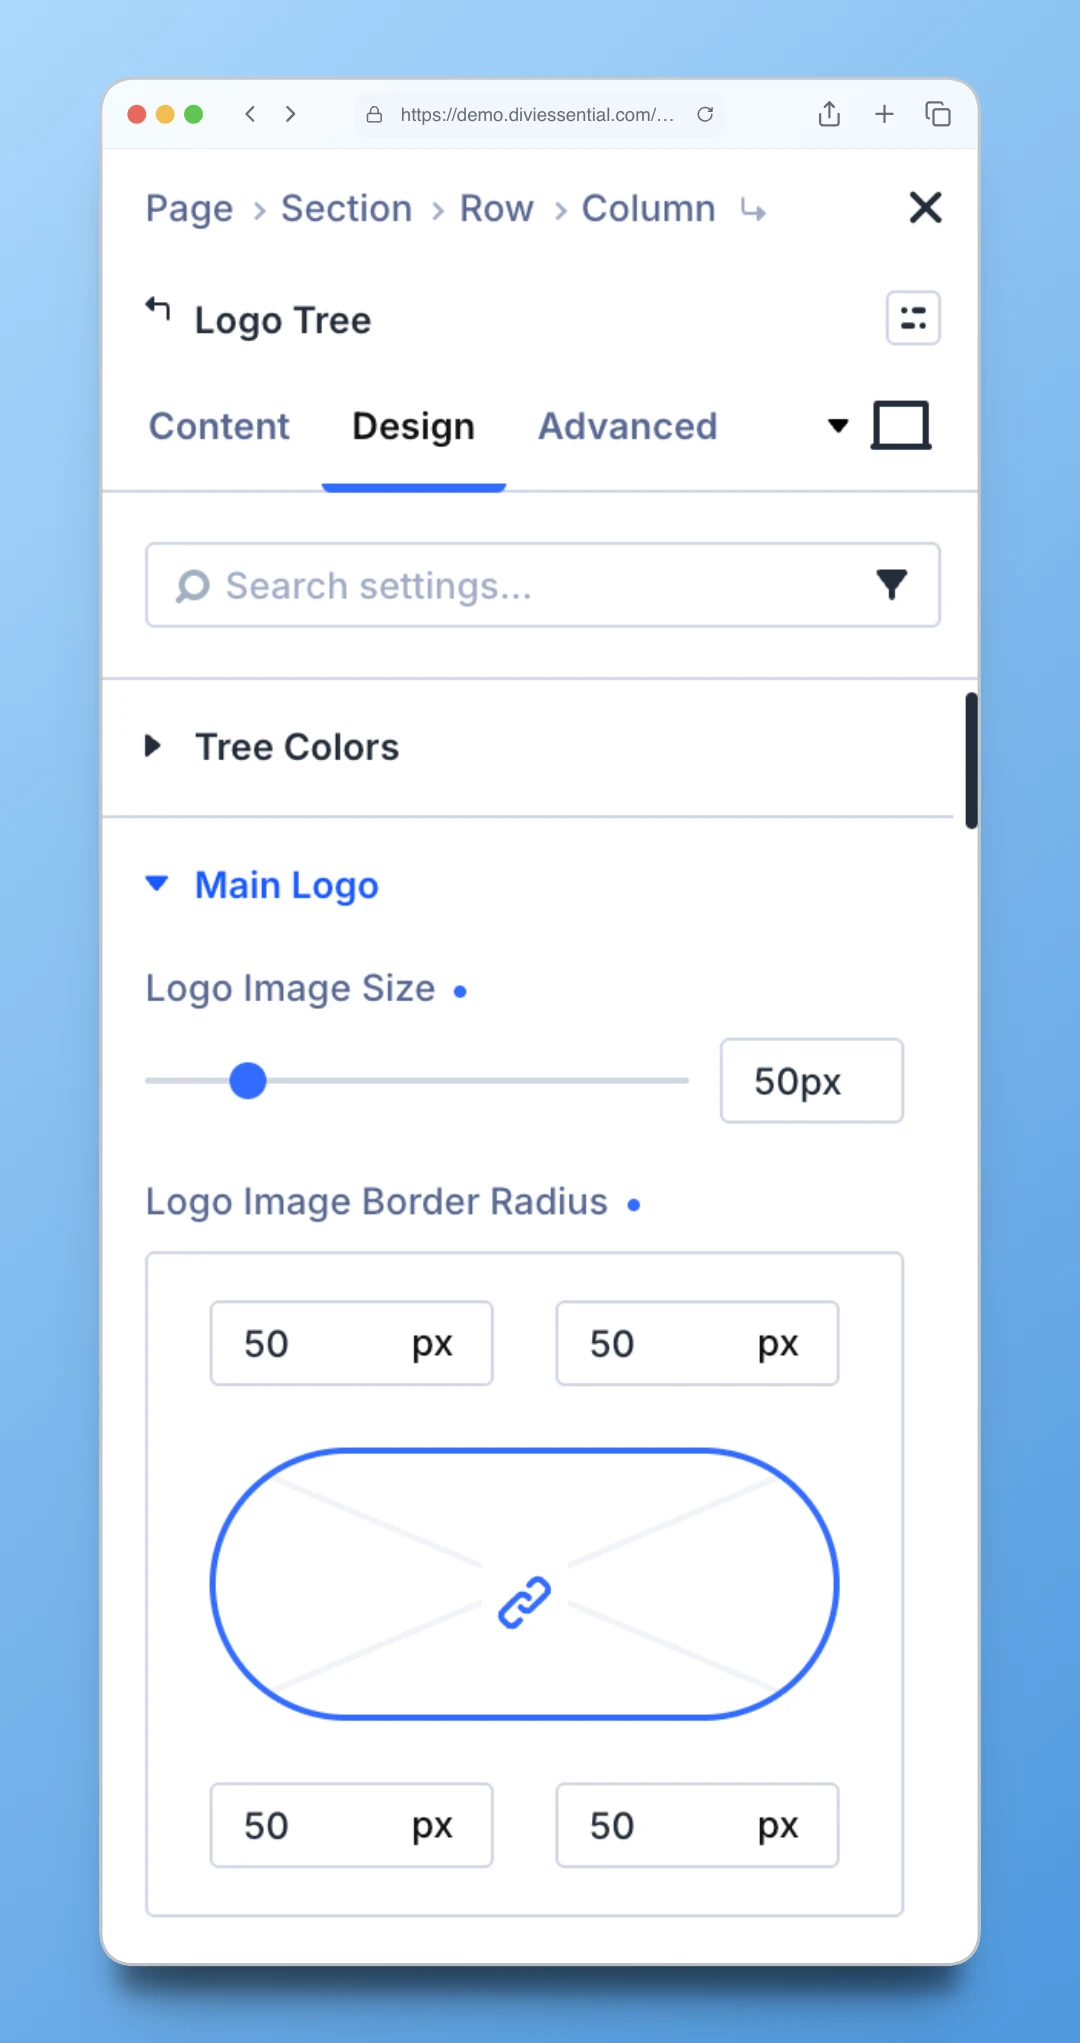
The Main Logo settings allow you to customize the appearance and sizing of the central logo displayed within the tree.
The Logo Image Size option controls the width and height of the logo image itself. The available range is between 20px and 200px, with the default value set to 40px.
The Size option controls the width and height of the main logo wrapper or circular container. The available range is between 40px and 300px.
Additional styling options are also available for the main logo area, including logo image border settings, wrapper background customization, text font styling, border controls, box shadow, and padding options. By default, the wrapper uses a dark semi-transparent background.
Design -> Node
The Node settings provide styling options for all node items within the tree. You can customize the node background, border styling, and box shadow effects.
- Node Image
The Node Image settings allow you to customize the border styling of node images. By default, the images use fully rounded corners to create a circular appearance.
- Node Label
The Node Label settings control the appearance of the tooltip labels shown when hovering over nodes. You can customize the label background and typography styling options. By default, labels use a 12px font size, 500 font weight, white text color, and a dark semi-transparent background.
Advanced Settings
- Custom CSS — Write custom CSS targeting specific parts of the module: Main Logo, Node, Node Label, Connector Line, and Container.
- Visibility — Show or hide this module on desktop, tablet, or phone.
- Transition — Customize hover transition duration and style.
- Position — Control the module’s positioning (relative, absolute, fixed, sticky).
- Scroll Effects — Add parallax or scroll-triggered animation effects.
- HTML Attributes — Add custom data attributes to the module.
- Conditions — Set conditions for when this module should display.